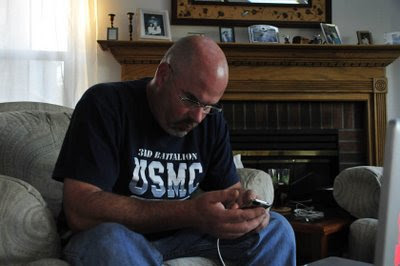
but when I just flipped up the flash, it got too bright and things were overexposed, harsh looking and my poor hubby looked pale and sick.
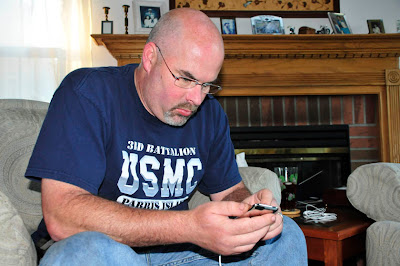
So, I set the exposure compensation (at least I think that's what it's called) for the flash and I tried it at several settings. I can set the flash to be much brighter + settings up to +3, or I can set the flash to be dimmer, down to -3. I decided that -1 was 'just right'.

The colors and shadows that I could see in the preview looked just like the colors and shadows that were in real life. If I decide that I want a brighter picture, because I shoot in RAW it will be easy to brighten up a photo that is correctly exposed and captured the right colors. If I were to try to brighten up that very dark photo, or to tone down the one that is too bright, I'd have problems that would require even more corrections.
All this fussing sounds like it took a lot of time, but really, it didn't. The more you know about the settings on your camera, the easier and faster it is to use them. The most important thing is to use that preview in camera and check it against the scene you are trying to capture.
If your camera has a button that looks like the flash lightning bolt next to a +/- sign, you can probably adjust the flash intensity, too.



No comments:
Post a Comment