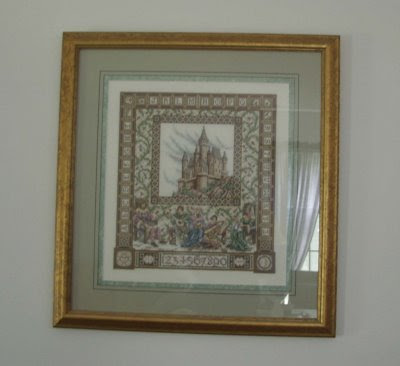
Here's an example. This is a Teresa Wentzler design for counted cross stitch. Teresa's designs are legendary in the needlework world. Anyway, this darling hangs on my living room wall and I wanted to get a photo of it to put into a scrapbook. This wasn't the photo I used.

As you can see, it's a bit crooked. I was trying to avoid that reflection of the window behind me. I finally gave up and shot it at a different time of day. However, if this were the best that I could do and I had to use it, I'd want to have it straight.
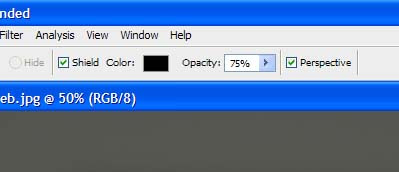
I open the file in CS3, select the crop tool and draw a cropping box more or less around what I want. I don't have to be precise yet. Then I make sure that the Perspective check box (which is UN checked by default) is checked.

With Perspective enabled, I can move the marching ants around by the handles and position them precisely. They won't move the way they usually do, each corner can be moved independently of the others. I am not limited to a rectangle, I can make any four-sided shape I need. I take my time and get this exactly right. Time spent here will save me having to un-do and try again. If I need to make it larger, I press 'Ctrl' + '+' so I can see it. When I hve it just the way I want it, I press 'Enter.'
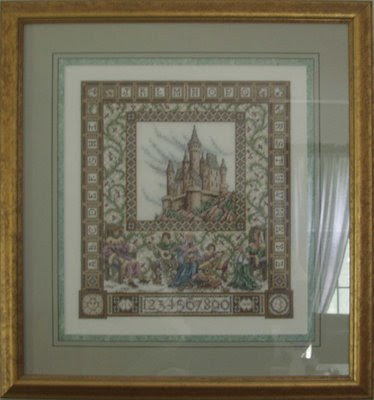
Here's my results. Still with that nasty reflection, but at least it's square.


No comments:
Post a Comment