I had a photo of a friend, who was smiling and looking pretty neat. But she didn't like it, because it showed her laugh lines. And a few other lines. I said that I'd 'Photoshop' it for her to get rid of the lines.
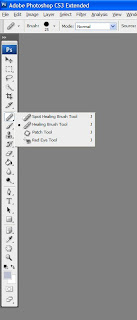
In order to do this quickly and easily, I used the patch tool. It's hiding under the Healing Brush Tool.

To use it, you draw around an area you want to copy. 'Marching ants' appear. You move that selected area over the area you wish to hide and hit 'Enter.' You can use the same selection several times, or you can select a new area. If you are using a mouse, you will have trouble selecting the exact area you want to use. And you'll find that many times, you are suddenly making a new selection, when what you wanted to do was move the selection you had. I blew the photo up to about 200% for some of the fine lines, but 100% or so was OK for a lot of other areas.
Anti-alias is a term that describes how Photoshop draws an image. At an edge, there will be not a black pixel, not a white pixel, but a gray pixel. Or there will be a blending of pink, yellow, brown and purple pixels to create a skin tone. If you zoom in enough, You can see that Photoshop does not do a perfect cut and paste of your selected area, but uses anti-alias to blend the edges a teensy bit. This is one of the few times that I like anti-alias. Usually, I'm fighting it.
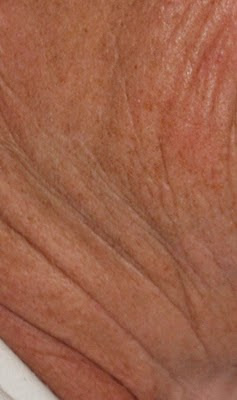
To protect her identity, I'm just going to show a small area of her jawline before I patched it.

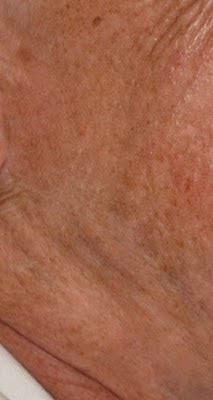
And this is after I patched it. I didn't want to be too aggressive. I could have smoothed out everything, but then I don't think she'd look human.


No comments:
Post a Comment